Navigating a custom metal fabrication project can involve multiple steps and intricate processes. This article aims to simplify that complexity by breaking it down into three key phases in metal fabrication projects: Planning and Design, Fabrication Process, and Finalization and Delivery. Whether you’re a project manager, engineer, or stakeholder, understanding these phases can provide valuable insights into the lifecycle of custom metal fabrication.
Phase 1: Planning and Design
Requirements Gathering
The requirements-gathering stage is the backbone of the entire custom metal fabrication project. During this phase, defining the scope is the initial step and sets the perimeter for what needs to be achieved. It includes aspects like dimensions, functionalities, and specific features of the end product. Following the scope definition, the next step is identifying the project’s best-suited materials. Choices may range from metals like aluminum, steel, or titanium, each with unique properties and cost implications. Finally, determining budget constraints is an equally significant aspect. This involves calculating the projected costs for materials, labor, and overhead, which helps make informed decisions throughout the project. These three pillars—scope, materials, and budget—collectively offer a framework that guides the subsequent phases of the project.
Feasibility Analysis
In the Feasibility Analysis stage, the focus shifts to assessing whether the previously gathered requirements can be realistically implemented. Starting with Technical Viability, the team evaluates the engineering challenges and possibilities. For instance, is the design too complex to manufacture with the available technology and equipment? Given the existing resources, the aim is to confirm that the envisioned project is technically achievable.
Next, Cost Analysis comes into play. This exceeds the initial budget constraints to offer a more granular view of expenditures. Through a comprehensive breakdown of costs, such as material sourcing, labor, and even potential overtime or delays, stakeholders can better understand the financial demands of the project. It helps answer questions like, “Is the budget sufficient to cover all project costs without compromising quality?”
Lastly, a Risk Assessment is conducted to identify potential pitfalls and obstacles that could derail the project. These could be material supply issues, technical snags, or regulatory challenges. Risk mitigation strategies are developed as a part of this step to prepare for possible hurdles.
By systematically examining the project’s technical viability, financial demands, and potential risks, the Feasibility Analysis stage serves as a reality check. It helps stakeholders decide whether to proceed with the project as planned, make necessary adjustments, or potentially reevaluate its viability altogether.
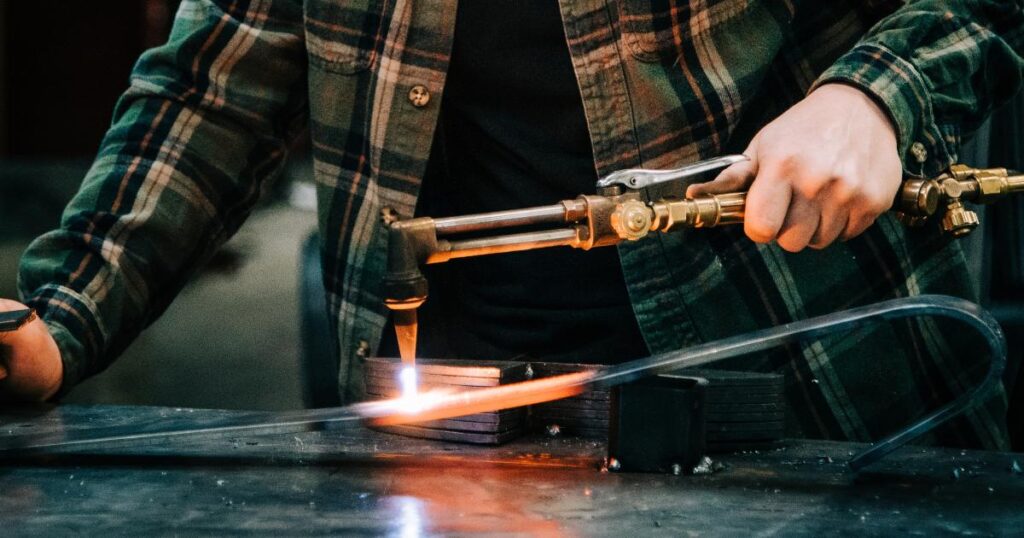
Design Development
The Design Development phase is where ideas start to take a tangible form. This stage begins with Initial Sketches, often hand-drawn representations that lay down the fundamental structure and dimensions of the final product. While these sketches may lack minute details, they offer a visual guide as a point of departure for more advanced design work.
The project advances to Computer-Aided Design (CAD) software following initial sketches. CAD allows for more detail and precision, enabling engineers and designers to fine-tune their concepts to the smallest unit. Unlike hand-drawn sketches, CAD files are easy to edit, providing flexibility for alterations. CAD designs also facilitate communication among project stakeholders by offering a visual yet highly detailed representation of what the final product should look like.
The culmination of the Design Development phase is often the creation of a Prototype. This preliminary model sometimes scaled down, is built to test the design’s functionality and aesthetics. Prototyping enables real-world testing and can reveal design flaws or inefficiencies that aren’t apparent in digital formats. For example, a prototype may show that certain parts don’t fit together as neatly as they appeared to in the CAD model, necessitating design revisions.
Regulatory Compliance
The Regulatory Compliance stage serves as a safeguard to ensure that the custom metal fabrication project aligns with established norms and regulations. Think of this as the project’s legal and ethical backbone.
Starting with Industry Standards entails confirming that the project adheres to the industry or governing bodies’ specific norms and quality guidelines. For instance, adherence to rigorous standards like AS9100 or FDA guidelines might be mandatory in aerospace or medical device manufacturing. Non-compliance could result in project failure, fines, or legal ramifications.
Safety Guidelines are the next focal point. These are rules and best practices to ensure the workforce’s well-being and the environment. These guidelines can dictate everything from the protective equipment that must be worn to the procedures for handling and disposing waste materials. Compliance is not just a box to tick; it’s a commitment to responsibly managing human and environmental resources.
Lastly, Material Traceability involves tracking the origin and journey of all materials used in the project. This is often required for quality assurance and in cases where material authenticity or source can impact the product’s integrity, such as in projects for the defense sector. Traceability not only aids in ensuring quality but also becomes crucial during a product recall or audit.
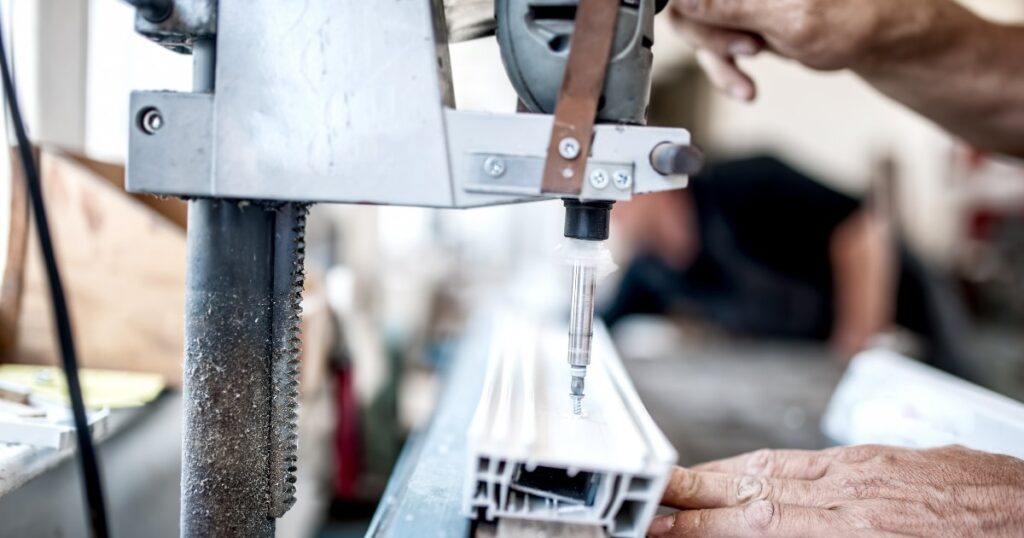
Phase 2: Fabrication Process
Material Procurement
Material Procurement is the first operational phase in the fabrication process and serves as the starting point where planning translates into action.
Supplier Selection is the initial task involving identifying and vetting potential vendors for the materials identified in the planning stage. Different suppliers might offer varying grades of materials, and choosing one can significantly impact the project’s quality and cost-efficiency. Factors like supplier reputation, cost, delivery timelines, and previous work experience usually guide this selection.
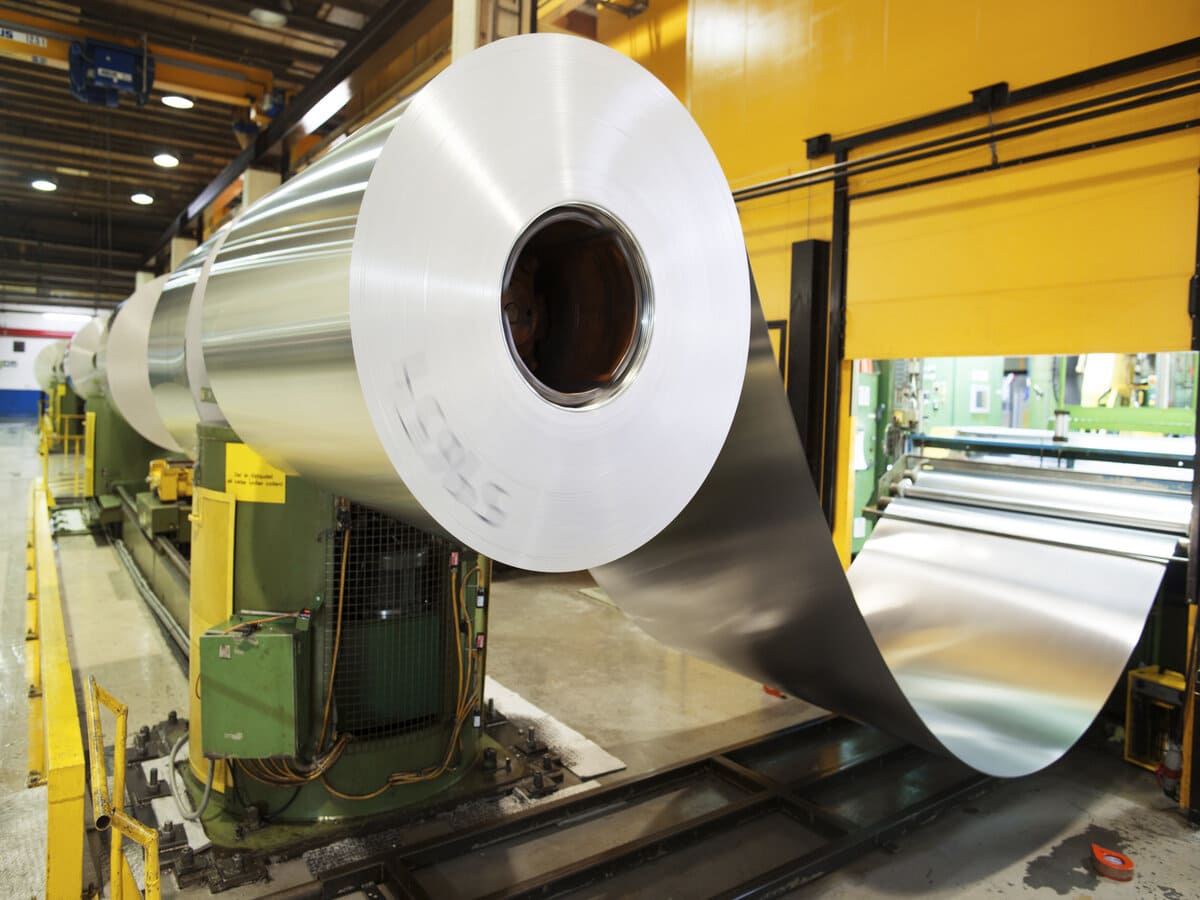
Quality Checks follow the acquisition of materials. The aim is to ensure that the received materials meet the stipulated industry standards and project requirements. Tests may be conducted to verify attributes like tensile strength, durability, and corrosion resistance. Poor quality materials can lead to inferior end products and compromise the project’s integrity.
Material Handling and Storage is the last step in this phase. Properly storing materials is crucial to maintain quality until they are needed in fabrication. Depending on the type of material, specific temperature and humidity-controlled environments may be necessary. The goal is to preserve material integrity from acquisition to usage.
Pre-Fabrication Setup
This phase is essentially the calm before the storm, where everything is set up to commence the fabrication.
Tooling and Equipment Preparation is central here. The required machinery—cutting tools, welding apparatus, or surface treatment gear—must be prepped for operation. This involves calibrations, safety checks, and possibly trial runs to ensure optimal performance. The aim is to reduce downtime and avoid glitches that could stall production.
Workforce Training comes next, ensuring the people operating the machinery are well-versed in the project’s specifics. This may involve educating them about the designs, materials, and any new technology that will be used. It’s akin to a pilot going through a pre-flight checklist and ensuring the crew is informed and prepared.
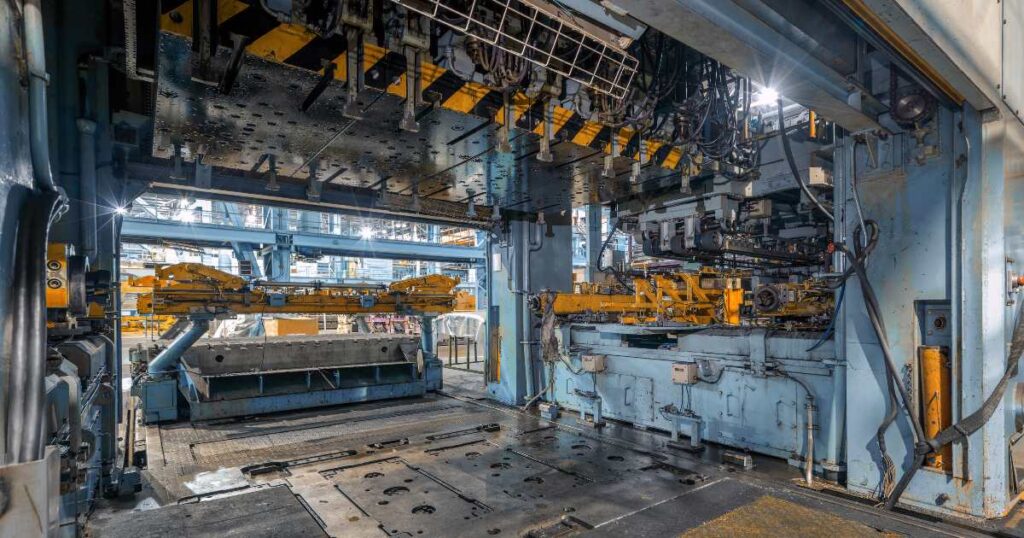
Fabrication Techniques
The Fabrication Techniques phase is the heart of the custom metal fabrication project. This is where raw materials are transformed into the components that make up the final product. Each fabrication technique employed has its unique set of requirements and outcomes.
Cutting and Shaping
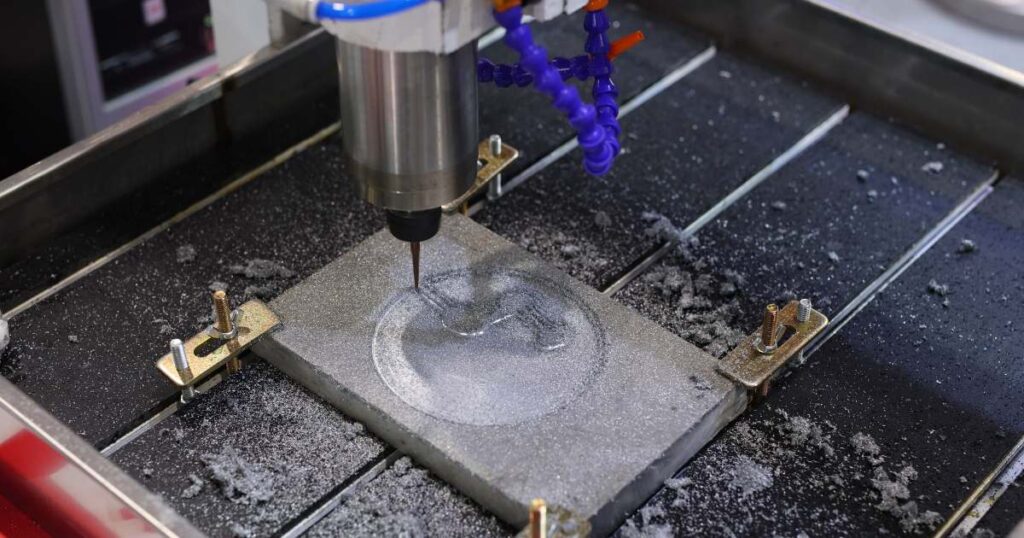
The first step usually involves Cutting and Shaping the raw materials into the sizes and forms needed. Methods like laser, plasma, or traditional machining are selected based on the project’s needs. Cutting and shaping are akin to a sculptor chiseling away at a block of marble; they form the raw materials into recognizable parts that align with the project’s design.
Welding or Joining
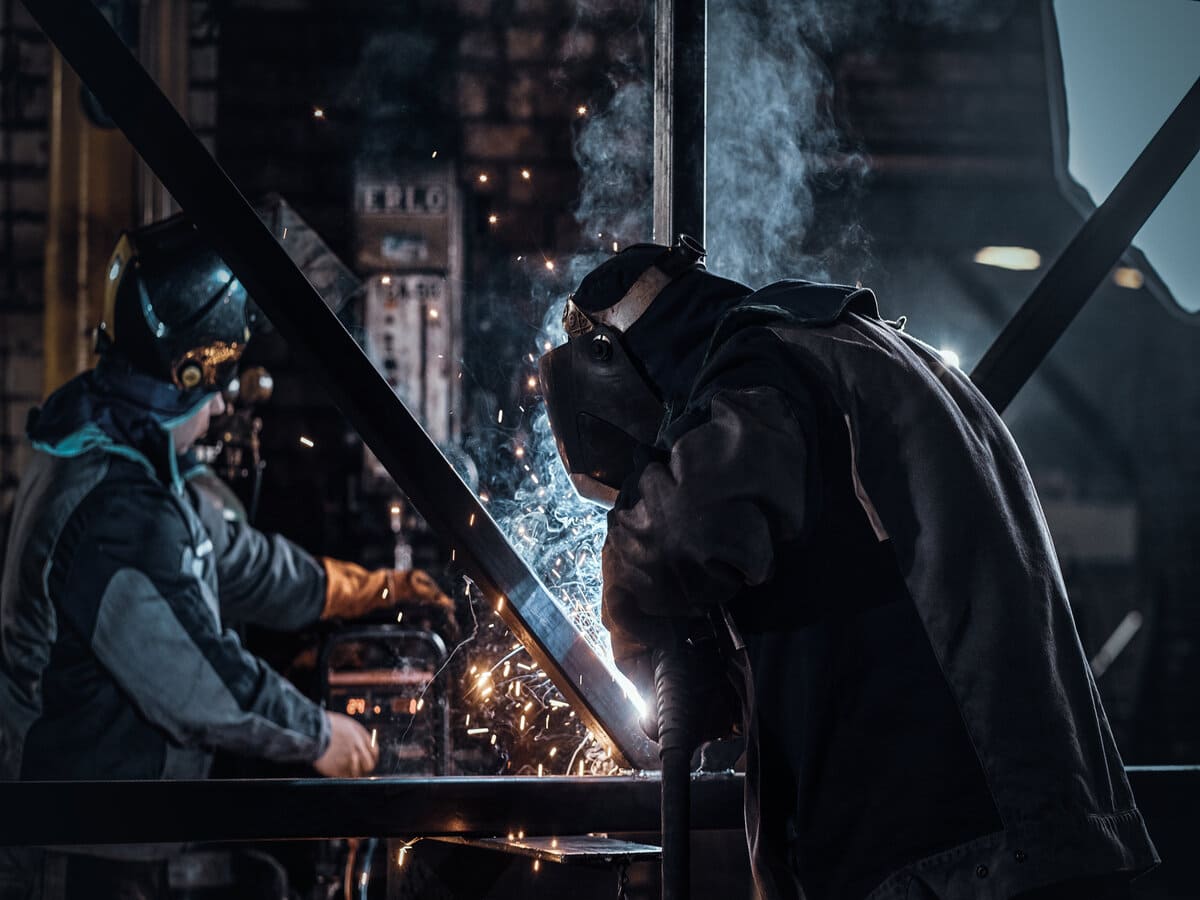
After the components are cut and shaped, they need to be assembled. This is generally done through Welding or Joining processes. Depending on the material and product design, different welding techniques like MIG, TIG, or spot welding could be used. This stage is equivalent to piecing together a puzzle; each component must fit perfectly to maintain the structural integrity and functionality of the final product.
Surface Treatments
The final step in this phase involves Surface Treatments, which can range from painting and powder coating to galvanizing and anodizing. Surface treatments are often applied for both aesthetic and functional purposes. They protect the material from corrosion, wear, and tear while adding finishing touches that make the product more visually appealing. Think of this as the varnish on a wooden table; it enhances its appearance and extends its lifespan.
Quality Assurance
Quality Assurance is the project’s safety net, ensuring that all fabricated components meet or exceed the predetermined standards and specifications. This stage can be equated to a quality control checkpoint in a manufacturing assembly line where every item is scrutinized for defects before shipment approval.
Inspection Protocols
The process commences with Inspection Protocols and standardized procedures for examining the physical components. Various inspection methods, such as visual inspection, x-ray, or ultrasonic testing, may be employed depending on the complexity and requirements of the project. These protocols act as the eyes of the operation, meticulously checking for any discrepancies like uneven welds, incorrect dimensions, or material defects.
Performance Testing
After inspection, Performance Testing is done to validate that the product looks good and functions as intended. This may involve stress tests to gauge load-bearing capacities or functional tests to assess moving parts and electrical components. If Inspection Protocols act as the eyes, Performance Testing serves as the hands and feet, putting the product through paces to ensure it meets operational requirements.
Documentation
The final element in this phase is Documentation. This involves creating a comprehensive record of all quality assurance activities, including the results of inspections and tests. These documents can be crucial for compliance and provide a paper trail for future audits or certifications. Consider this the project’s diary, capturing all significant activities and outcomes and serving as a reference point for future evaluations or improvements.
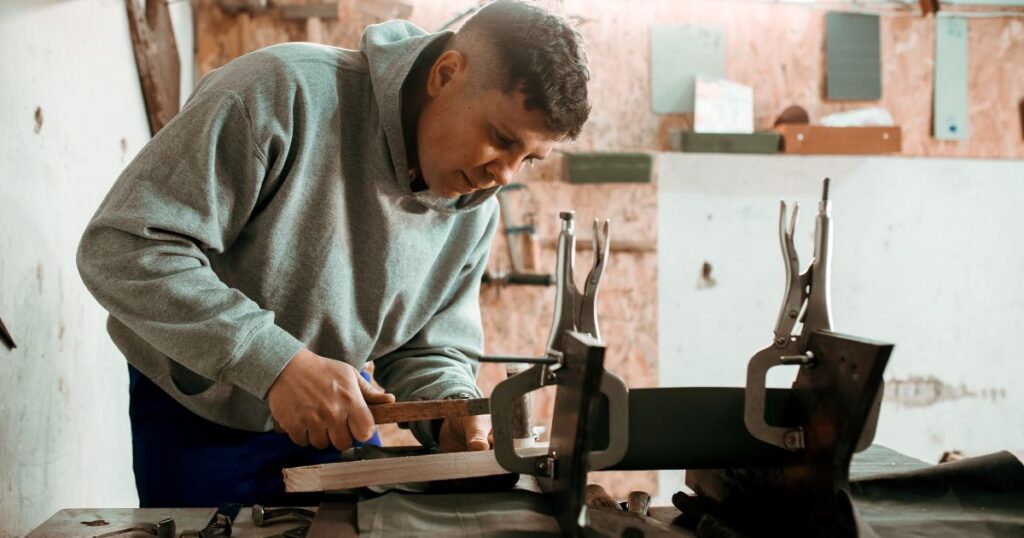
Post-Fabrication Review
The Post-Fabrication Review is the capstone of the custom metal fabrication project, serving as a final validation before the product is deemed ready for delivery or installation. This phase involves a last set of Quality Checks, essentially a reiteration of previous inspections but with the assembled finished product. It’s a chance to catch any oversights or imperfections that may have slipped through earlier phases. Revisions may be necessary if any issues are identified, triggering minor adjustments or more significant redesigns. This review is the final gatekeeper, ensuring that what leaves the workshop meets all the quality, functional, and compliance benchmarks set at the project’s inception.
Packaging
The Packaging phase is the final step before the product leaves the fabrication facility, and it involves more than just wrapping up the finished goods. This stage is similar to securing a valuable painting for transport; it’s not just about covering it but about ensuring it arrives at its destination in perfect condition.
Material Handling
Material Handling refers to the procedures and equipment to move the finished product from the workshop to the packaging area and eventually onto the transport vehicle. Specialized lifts, trolleys, or conveyors may be employed, especially for heavy or delicate components. This step ensures that the integrity of the fabricated item is maintained throughout the transition from the workshop to the shipping area.
Safety Protocols
Packaging also involves Safety Protocols, which are rules and guidelines to ensure that the packed items do not pose any risks during transit or installation. This might include secure strapping to prevent movement, padding to cushion against impacts, and possibly sealed bags for components sensitive to environmental conditions like moisture. Safety Protocols aim to eliminate or minimize potential hazards associated with transporting metal products.
Delivery and Installation
The Delivery and Installation phase is where the rubber meets the road. At this point, the fabricated product leaves the controlled environment of the workshop and makes its way to the customer or project site. Think of this stage as delivering a complex piece of machinery to a research lab; it must arrive intact and be set up flawlessly for the entire project to succeed.
Logistics Planning
Logistics Planning is the strategic organization of the transport of the finished product. It involves determining the most efficient and safe routes, coordinating with shipping vendors, and setting schedules. Often, these logistics consider factors like the size and weight of the fabricated components, the distance to the destination, and any special requirements such as temperature control or anti-shock measures.
On-Site Installation
Once the product reaches its destination, On-Site Installation begins. This process usually involves specialized technicians skilled at setting up the fabricated item per the project’s specifications. Installation may also require on-site coordination with other trades or professionals, especially if the fabricated item needs to be integrated into a larger system or structure. It’s the final leg of the journey, comparable to the deployment of a satellite into orbit; every previous stage’s work is validated once the installation is complete and functional.
Client Approval and Handover
Client Approval and Handover signify the project’s culmination, where the responsibility for the fabricated product transfers from the fabricator to the client. You can liken this phase to a homebuyer’s final walk-through and closing; it offers the last opportunity to ensure everything is in order before taking ownership.
Final Inspection
This step involves a Final Inspection, often conducted by client representatives. The aim is to review every detail, comparing the finished product against the initial requirements and specifications. In this stage, the client can bring up any concerns or identify issues that we must address before officially closing the project.
Documentation Submission
The handover isn’t complete without Documentation Submission. This encompasses all project records, including design sketches, quality assurance reports, and compliance certificates. The Documentation serves multiple purposes, from legal safeguarding to providing a comprehensive project summary. It is similar to the manuals and warranties one receives when purchasing a new car, serving as a resource for future maintenance and upgrades.
Client Training
The final aspect of this phase is Client Training, which is especially relevant if the fabricated product involves complex operation or maintenance routines. We may conduct knowledge transfer sessions to ensure the client’s team can effectively use, maintain, and troubleshoot the product. Think of this as a brief tutorial or user guide demo; it equips the client with the know-how to get the most out of their new acquisition.

Miscellaneous Sections
Troubleshooting Guidelines
Common Issues
After the handover, clients may encounter operational hitches or performance issues. These could range from software glitches to mechanical malfunctions. Think of this as the “honeymoon” glitches sometimes experienced with new electronic gadgets; they’re often minor but need addressing.
Recommended Solutions
To mitigate these problems, a list of Recommended Solutions is usually provided. This can include step-by-step guides to resolve common issues and emergency contacts for technical support. It serves as a first-aid kit for the product, equipping the client with tools for immediate problem-solving.
Post-Project Evaluation
Cost Auditing
Once the project is complete, we conduct Cost Auditing to assess the financial efficiency of the entire operation. This process can help identify areas for better expenditure management, much like a year-end financial review in a business.
Performance Review
Similarly, we undertake a Performance Review to analyze the project’s technical successes and areas for improvement. It’s a retrospective that helps fine-tune future projects, akin to a sports team reviewing game footage to improve tactics.
Future Recommendations
Maintenance Tips
For long-term success, we often share maintenance tips with the client. These can range from cleaning routines to regular inspections, and they serve as the user manual for long-term care of the product.
Upgrade Possibilities
Finally, suggestions for Upgrade Possibilities may also be provided. These offer pathways for the client to enhance their product’s functionality or lifespan in the future, much like recommended software updates for a computer.
Frequently Asked Questions
What does the Planning Phase Entail?
In the Planning Phase, we determine the project scope, design criteria, and material selection as the initial stage. It acts as a foundational guide for all subsequent phases.
Is a CAD Design Always Necessary?
While not always mandatory, a CAD (Computer-Aided Design) design greatly enhances precision and helps visualize the final product, reducing the chances of errors in later stages.
How Do We Estimate the Cost in This Phase?
Cost estimation involves calculating material costs, labor, and overhead. The total cost may also factor in special requirements like finishing or special treatments.
What are the Key Activities in the Fabrication Phase?
This phase involves cutting, bending, and assembling the metal based on the approved design. Techniques may include laser cutting, welding, and forming, among others.
How Long Does the Fabrication Phase Usually Last?
The duration is project-specific and depends on factors like the complexity of the design and the availability of materials. Timelines can range from a few days to several weeks.
Is Quality Control Part of this Phase?
The fabrication process integrates quality checks to confirm that the product meets all design and quality specifications.
Is the Finishing Phase optional?
While some projects may not require a finish, skipping this phase can compromise the longevity and aesthetics of the product.
What Factors Affect the Overall Timeline of a Custom Metal Fabrication Project?
The timeline can impact design complexity, material availability, and project modifications.
References
American Welding Society (AWS)
Fabricators & Manufacturers Association, International (FMA)

